Creating Customized Fonts for Kids' School Projects
Customized fonts can be a game-changer for school projects and presentations. They give kids’ work a distinctive edge that sets it apart from the rest. And the best part? Creating customized fonts is simpler than you’d think, and it’s a fun activity for kids to get involved in. To help take your kids’ school projects and presentations to the next level, we’ve put together some tips for creating customized fonts. Don’t miss out on this opportunity to make your kids’ work stand out!
1. Choose the Right Tools
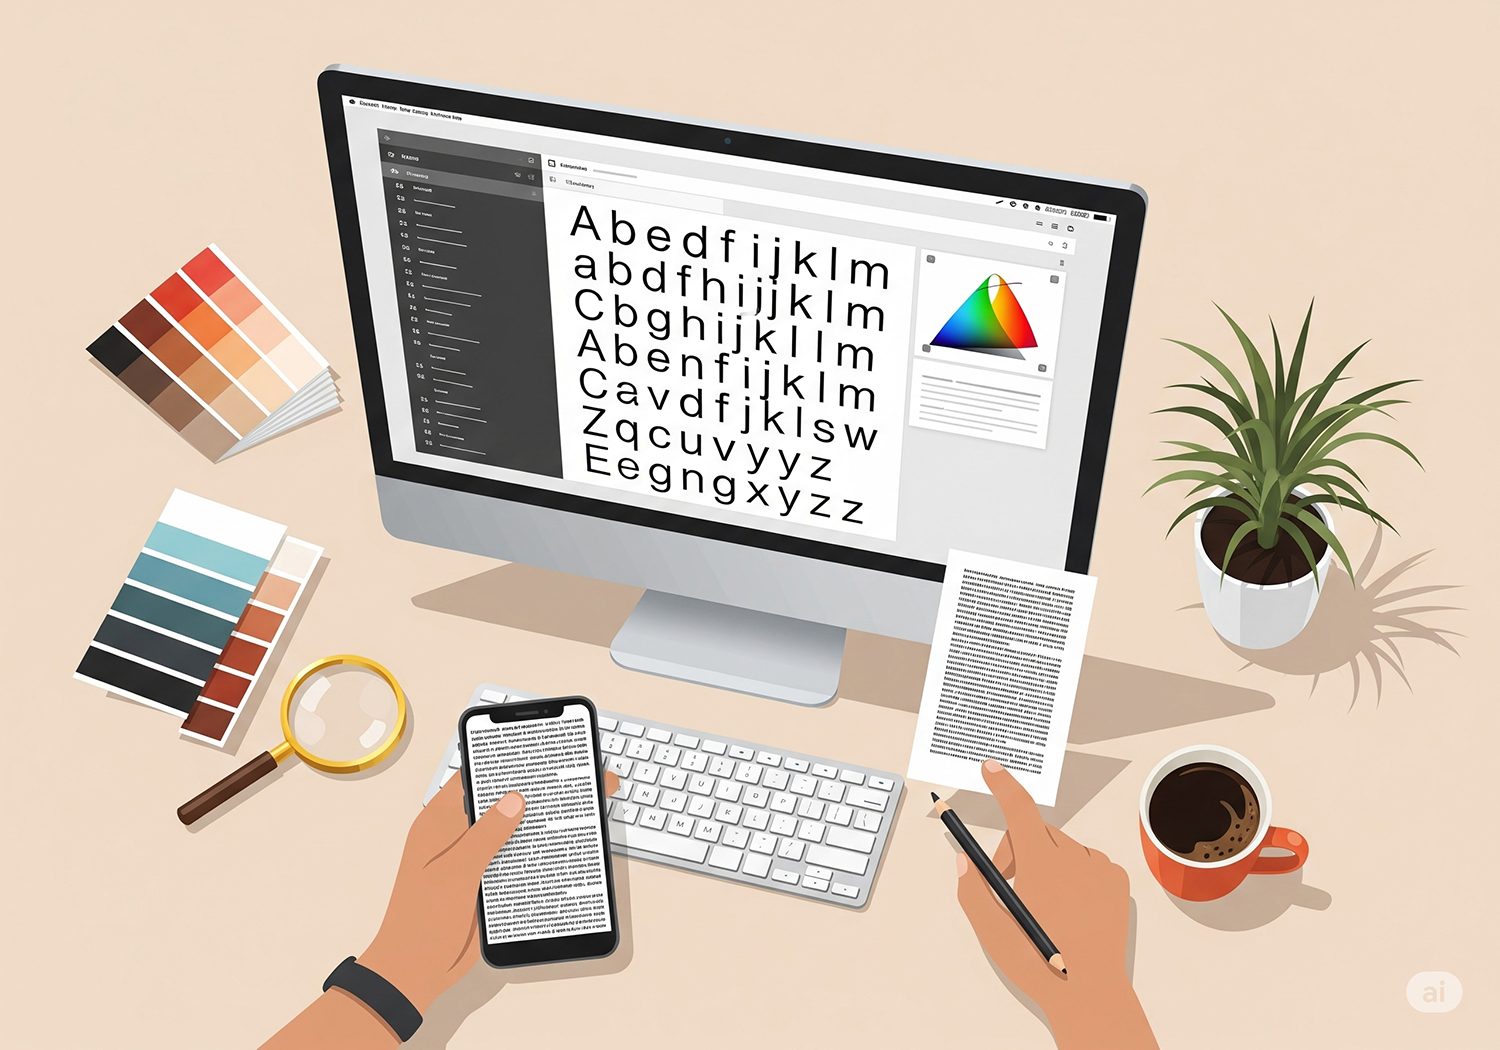
To create customized fonts, you’ll need the right tools. Fortunately, there are plenty of free online resources that kids can use. Some popular options include Calligraphr, FontStruct, and FontArk. These tools allow kids to design their fonts by drawing letters, adjusting spacing, and selecting different styles and shapes.

2. Start with a Basic Sketch
Before diving into the font creation process, it’s a good idea for kids to start with a basic sketch of their desired font. This can be done with a pencil and paper or with a digital drawing tool. From there, kids can refine the details and make adjustments as needed.

3. Consider the Purpose and Audience
When creating a customized font, it’s important to consider the purpose and audience. Is the font for a school project, a presentation, or something else entirely? Who will be viewing the font? These considerations can help guide the design process and ensure that the final product is appropriate and effective.

4. Experiment with Different Styles and Shapes
Customized fonts can take on many different styles and shapes. Kids can experiment with different options to find the perfect fit for their project or presentation. Some popular styles include serif, sans-serif, script, and display fonts. Each style has its own unique characteristics and can help convey a different tone or mood.

5. Refine and Test the Font
Once the font has been created, it’s important to refine and test it. This can be done by printing out sample text and reviewing it for any errors or issues. Kids can also share the font with others to get feedback and make any necessary adjustments.

Conclusion
Creating customized fonts for kids’ school projects and presentations is a fun and creative way to add a personal touch to their work. By following these tips and utilizing the right tools, kids can design unique fonts that make their projects stand out.